
Blog

How to Use Lighting to Transform a Banquet Hall for Your Wedding
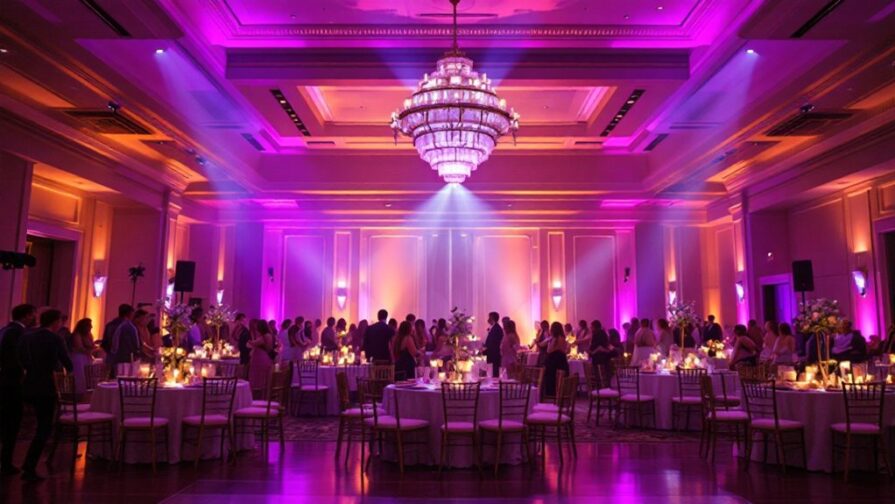
You don’t need a ballroom-sized budget to make a banquet hall feel intentional and refined. You can reshape its scale, color, and atmosphere with layered uplighting, controlled dimming, and focused accents that guide attention where it matters. Start by assessing ceiling height, wall finishes, power access, and sightlines, then build lighting for each phase of the celebration—because the most important transformation happens after sunset.
TLDR
- Measure the hall, note sightlines and ceiling obstacles, and photograph daytime and evening conditions before designing your lighting plan.
- Confirm outlet locations, circuit capacity, rigging options, and safe cable routes with the venue before booking equipment.
- Use perimeter uplighting on walls, columns, and recesses to add depth and match your wedding palette.
- Layer warm dinner lighting, soft table glow, and independently controlled dance-floor lighting for smooth transitions throughout the reception.
- Spotlight focal areas such as the head table, cake, bar, and dance floor while reserving budget for rentals, labor, and backups.
Assess Your Banquet Hall Before Choosing Lighting
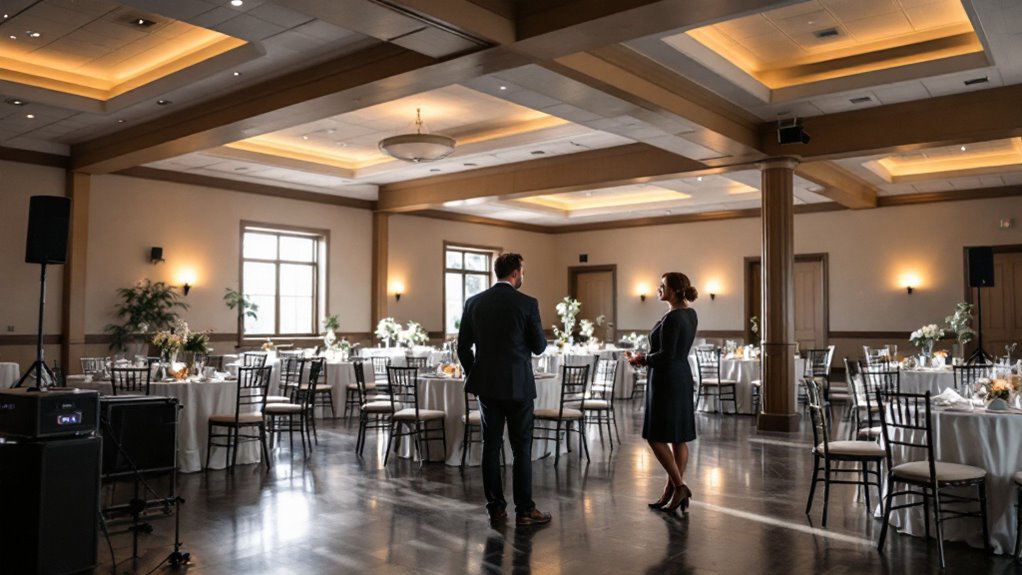
Before you select fixtures or program lighting scenes, map the hall’s physical constraints and visual assets. Measure room length, width, and sightlines from guest tables to the head table, dance floor, and entrances. Check ceiling height to determine whether chandeliers, truss, or suspended pendants will clear sprinklers, vents, and tall centerpieces. Note wall colors, mirrors, windows, columns, and existing sconces; each surface reflects, absorbs, or blocks light differently.
You should also assess acoustics, because speaker placement, drapery, and hard surfaces affect where lighting equipment can safely sit. Identify dedicated circuits, outlet locations, load capacity, and cable routes before finalizing your plan. Photograph the room at daylight and evening, then mark dim zones, glare risks, and architectural features worth emphasizing. This survey lets you choose equipment that fits the hall rather than forcing a design onto it. If your reception timeline includes interactive entertainment, such as a photo booth, confirm that lighting and sound placement support guest participation.
Use Uplighting to Create Your Wedding Mood
Uplighting gives you one of the fastest, most controllable ways to shift a banquet hall from plain to romantic, dramatic, or celebratory. Place LED fixtures along perimeter walls, columns, and architectural recesses to add height, depth, and visual rhythm without crowding the room. Your uplighting color should support your palette while complementing wall paint, linens, and ceiling finishes.
- Choose warm amber, blush, or soft lavender for intimate, flattering mood enhancement.
- Use saturated jewel tones, such as sapphire or emerald, when you want stronger contrast and formal drama.
- Program consistent fixture output and aim angles upward to avoid bright floor hotspots or distracting glare.
If your reception includes a DJ or live band, coordinating lighting with seamless audio-visual coordination can help the room feel more immersive during key moments like introductions, dinner, and dancing.
Test the design after sunset, since daylight can mask subtle tones. You’ll see whether colors read cleanly, blend into neutrals, or need adjustment for your hall’s surfaces.
Layer Lighting for Dinner, Dancing, and Photos
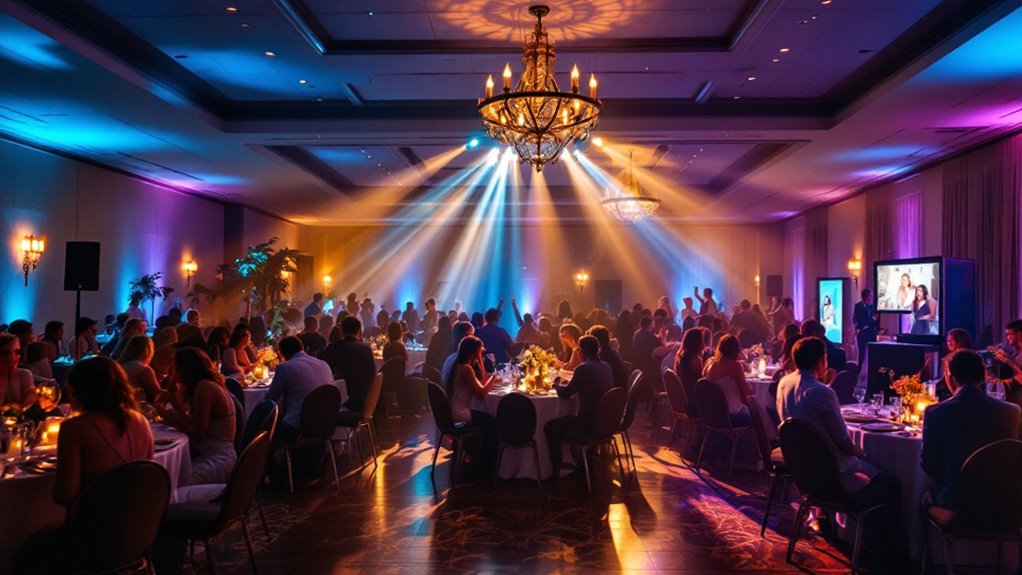
How your hall shifts from dinner to dancing depends on layered lighting, not one all-purpose setting. You’ll create dinner ambience with warm, dimmable overhead fixtures, softened wall washes, and low table-level glow that lets guests read menus and see expressions comfortably. Keep brightness even enough for servers to work safely without flattening the room.
As the dance floor opens, adjust zones independently. Reduce perimeter intensity, deepen color saturation, and add controlled movement or beat-synced effects for energetic dancing ambiance. Avoid rapid strobes during meals or when guests are entering. Wireless uplighting can also highlight columns, walls, or architectural details while adding color and depth to the room.
Plan photo lighting throughout the timeline. Your photographer needs flattering, directional light near guest tables and open areas, plus enough ambient exposure to preserve the room’s color and texture. Test each layer lighting cue with your planner, DJ, and photographer before guests arrive.
Highlight Focal Areas With Statement Lighting
Once your lighting layers support the full reception timeline, use statement fixtures to draw the eye to the room’s visual anchors: the head table, cake display, sweetheart table, bar, ceremony backdrop, or dance floor. You’ll create intentional hierarchy, so guests immediately understand where key moments unfold. Choose focal accents that complement your décor rather than compete with it.
- Suspend a crystal chandelier or sculptural pendant above the head table for polished glamour lighting.
- Frame the cake with narrow-beam pin spots, positioned to reveal texture, height, and frosting detail without harsh shadows.
- Define the dance floor with a clustered fixture, patterned gobo, or overhead installation that stays visible in photographs.
Aim fixtures precisely, conceal cabling, and test sightlines from guest tables. Keep color temperatures consistent around each focal zone, so your statement lighting looks cohesive, dimensional, and camera-ready. Professional and personalized lighting technicians can design everything from subtle, intimate accents to dynamic, vibrant displays that enhance your wedding ambiance.
Set Your Budget and Coordinate Lighting
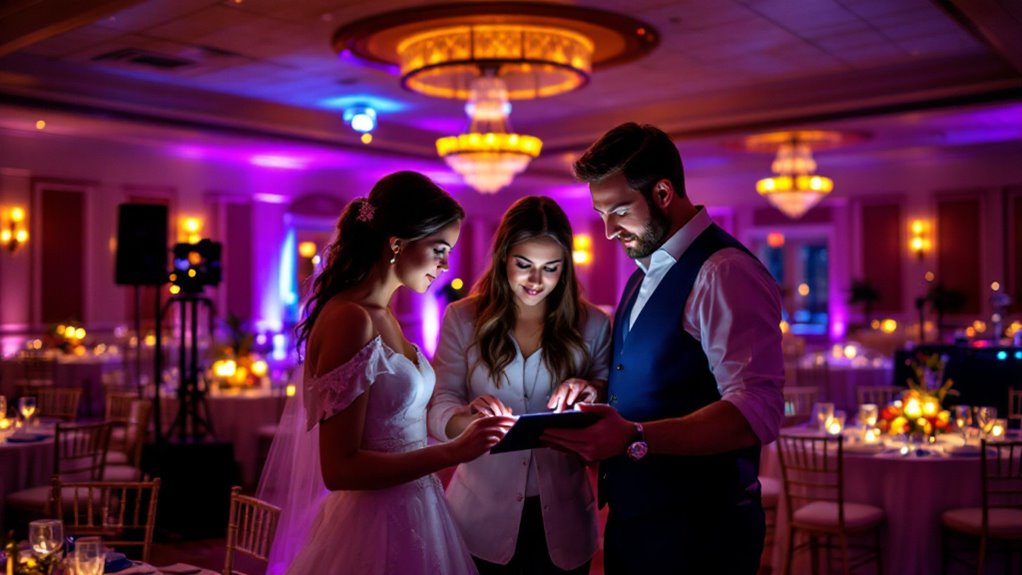
A realistic lighting budget starts with your venue’s infrastructure, guest count, ceiling height, and the moments you want to emphasize. During budget planning, price power distribution, labor, programming, rentals, and backup fixtures—not just chandeliers or uplights. Ask your venue whether dimmers, rigging points, and dedicated circuits are available, since upgrades can affect costs quickly.
| Priority | Allocate For |
|---|---|
| Essential | Ambient wash, safe pathways |
| Impact | Head table, dance floor, ceiling |
Use vendor coordination to align your florist, planner, DJ, and lighting designer. You’ll avoid blocked fixtures, mismatched color temperatures, and overloaded circuits. Request a floor plan showing fixture locations, cable runs, control positions, and cue timing. Coordinated lighting and creative projections can enhance the venue and highlight key moments with a more immersive atmosphere. Reserve contingency funds for last-minute additions, such as pin spots for centerpieces or a brighter exit sequence. Confirm setup and strike windows before signing contracts.
Common Questions
Can Lighting Be Used Safely Around Children and Elderly Guests?
Yes—like a lantern-lit medieval feast, you can use lighting safely. Choose cool LEDs, conceal cables, avoid strobe effects, provide a Safe setup, maintain Secure exits, and assign staff to monitor fixtures throughout the event.
Do We Need Backup Power for Wedding Lighting?
You’ll want backup power if your venue has unreliable electricity, outdoor lighting, or critical timelines. Include safety considerations: use certified generators, protected cabling, trained operators, and automatic transfer switches to prevent darkness during outages.
How Early Should Lighting Equipment Be Installed Before the Wedding?
Install lighting 4–8 hours before guests arrive—because nothing says “relaxed wedding” like troubleshooting cables during cocktails. Account for timing considerations, venue coordination, rigging access, programming, safety checks, and a final lighting rehearsal.
Can Lighting Affect Guests With Migraines or Sensory Sensitivities?
Yes, lighting can trigger migraines or overwhelm sensitive guests. You should prioritize lighting considerations like dimmable LEDs, flicker-free fixtures, indirect uplighting, and quiet zones. Offer sensory-friendly options, avoiding strobes, rapid color changes, and harsh glare.
Who Is Responsible for Removing Lighting Equipment After the Reception?
Your lighting vendor typically removes equipment; confirm this in writing. Nearly 40% of event disputes involve unclear contracts, so you’ll protect yourself by specifying venue cleanup responsibilities, teardown timing, and liability coverage before signing.